Hey there, podcast enthusiasts! If you're diving into the world of podcasting, one of the most crucial things you'll need is a good microphone. As a microphone supplier, I've seen firsthand how the right mic can make or break a podcast. So, let's talk about how to set up a microphone for your podcast.

Choosing the Right Microphone
First things first, you gotta pick the right mic for your needs. There are a few different types out there, and each has its own pros and cons.
Dynamic Microphones
These are tough little mics that can handle high sound pressure levels. They're great for live recordings or if you're gonna be a bit loud while podcasting. They're also pretty affordable, which is a plus if you're on a budget. You can check out our Desktop Conference Microphone for a good option in this category. It's sturdy and can capture your voice clearly, even in a not - so - perfect recording environment.
Condenser Microphones
Condenser mics are super sensitive and can pick up even the slightest nuances in your voice. They're ideal for studio recordings where you want a really crisp and clear sound. However, they're usually a bit more expensive and require phantom power to work. If you're serious about podcasting and want to invest in a high - quality mic, a condenser might be the way to go.
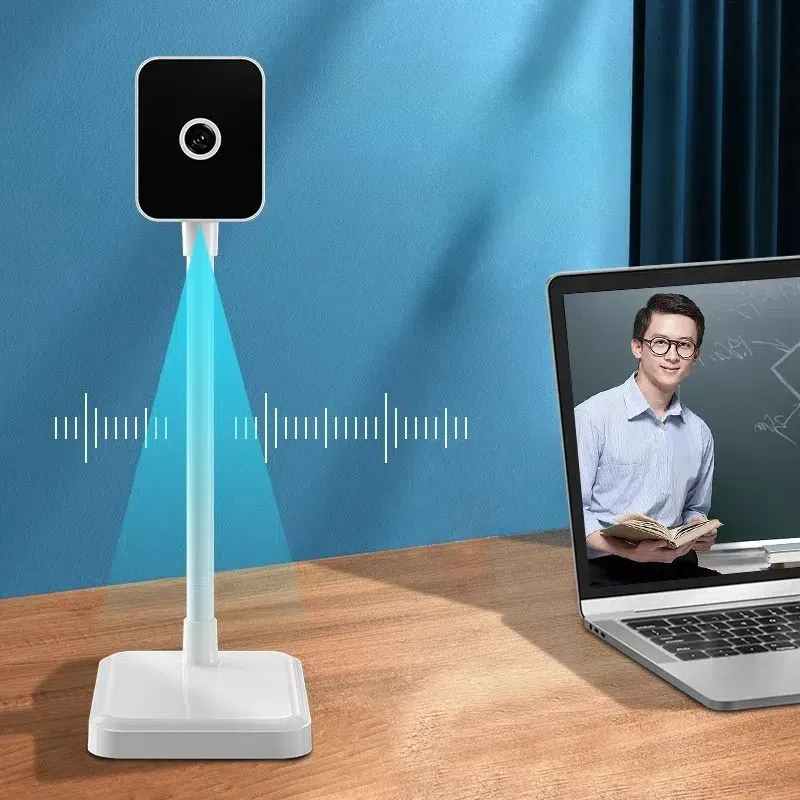
USB Microphones
USB mics are the easiest to set up. You just plug them into your computer, and you're good to go. They're great for beginners or if you're on the go and need a simple setup. Our Camera and Microphone for Video Conferencing can also double as a great USB mic for podcasting, especially if you're doing video podcasts as well.
Setting Up Your Microphone
Once you've chosen your mic, it's time to set it up.
Positioning
The position of your microphone is key. You want to place it about 6 - 12 inches away from your mouth. This helps to reduce plosives (those big "p" and "b" sounds that can make a popping noise) and gives you a nice, balanced sound. You can also angle the mic slightly upwards towards your mouth for the best results.
Shock Mount
A shock mount is a must - have accessory. It helps to isolate the microphone from vibrations, like the sound of your hands moving on the table or the rumble from your computer. Just attach your mic to the shock mount and then to a mic stand. This will keep your mic stable and reduce unwanted noise.
Pop Filter
A pop filter is another important accessory. It sits between your mouth and the microphone and helps to break up those plosives. You can get a simple mesh pop filter or a more high - end one. Either way, it'll make a big difference in the quality of your audio.
Connecting the Mic
If you're using a dynamic or condenser mic, you'll need an audio interface. An audio interface takes the analog signal from your mic and converts it into a digital signal that your computer can understand. Connect your mic to the audio interface using an XLR cable, and then connect the audio interface to your computer via USB.
If you're using a USB mic, it's even simpler. Just plug it into your computer's USB port, and your computer should recognize it right away.
Software and Settings
After you've set up your hardware, you need to configure your software and settings.
Audio Settings on Your Computer
Go to your computer's audio settings and select your microphone as the input device. You can also adjust the volume levels here. Make sure to do a test recording to check that the levels are good. You don't want the audio to be too quiet or too loud.
Recording Software
There are plenty of recording software options out there. Some popular ones include Audacity (it's free!), Adobe Audition, and Hindenburg Journalist. Download the software you like, open it, and select your microphone as the input source.
Testing and Fine - Tuning
Once everything is set up, it's time to test your setup. Record a short test clip and listen back to it. Pay attention to the sound quality, any background noise, and the overall balance of your voice.
If you notice any issues, don't worry. You can fine - tune your setup. For example, if there's too much background noise, you can try moving your mic to a different location or using soundproofing materials. If your voice sounds too quiet, you can adjust the gain on your audio interface or software.
Other Considerations
Headphones
Using headphones is important when recording. It allows you to monitor your audio in real - time and make sure everything sounds good. You can use a pair of regular headphones or a dedicated studio headset. Our Ps4 Headset Bluetooth with Microphone can also be a great option for podcasting, especially if you want the convenience of wireless.
Environment
The environment where you record matters a lot. Try to find a quiet room with minimal background noise. You can use blankets or acoustic panels on the walls to reduce echoes and reflections. A closet can actually be a great place to record because the clothes act as natural sound absorbers.
Conclusion
Setting up a microphone for a podcast might seem a bit daunting at first, but with the right equipment and a little know - how, you can get a great - sounding podcast up and running in no time. As a microphone supplier, I'm here to help you every step of the way. Whether you're just starting out or looking to upgrade your setup, we've got a wide range of microphones and accessories to suit your needs.
If you're interested in purchasing a microphone or have any questions about setting up your podcasting equipment, don't hesitate to reach out. We're always happy to have a chat and help you find the perfect setup for your podcast.
References
- General knowledge from years of experience in the microphone supply industry.
- Various online resources on podcasting and audio recording.


